Let’s Install:
Motor Cables for the MakerBot Rep 2/2x
If it’s time to replace your stepper motor cables on your Replicator 2 or 2x, follow along with the video or instructions below.
As always, turn off and unplug your machine before doing any repair work.
- Crescent wrench
- Side cutters
- 2.5mm hex key
- 3mm hex key
- Small zip tie
- Motor cables
- Cable extension, (comes in kit)
2
Detaching the x-axis motor
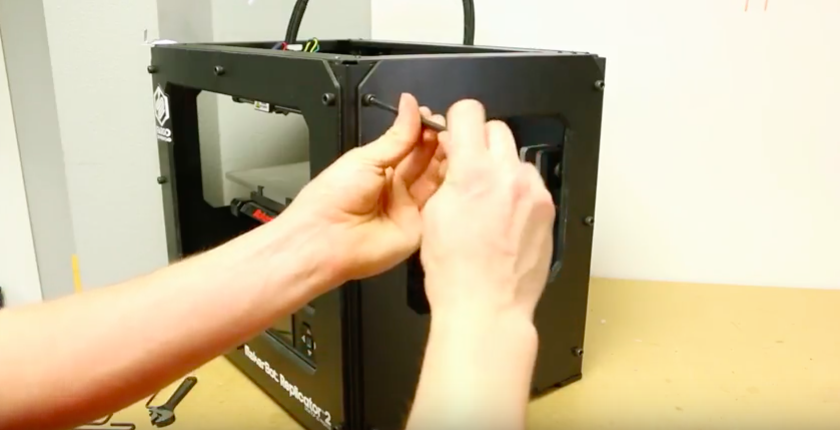
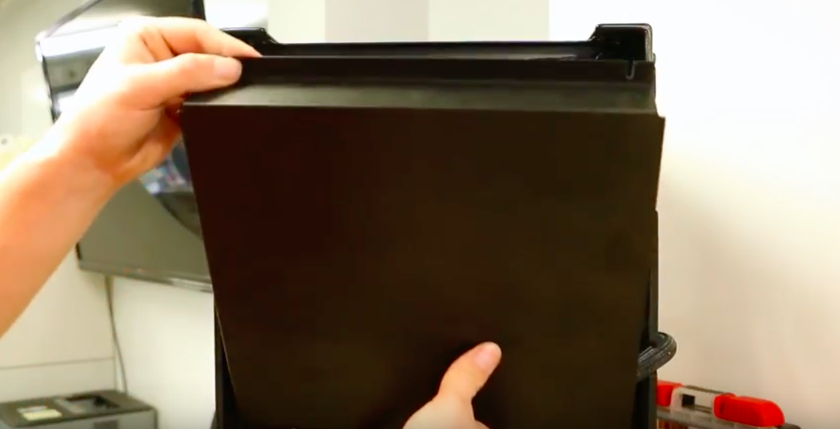
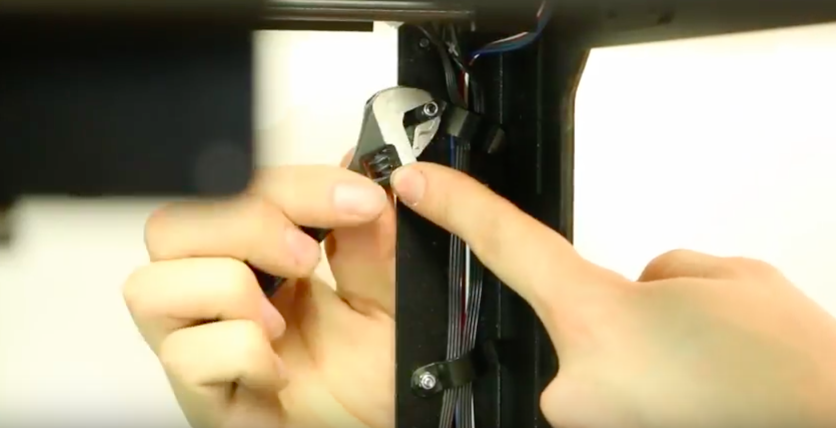
- Loosen the plastic tabs in the front right corner of the printer.
- Tip the printer on its left side.
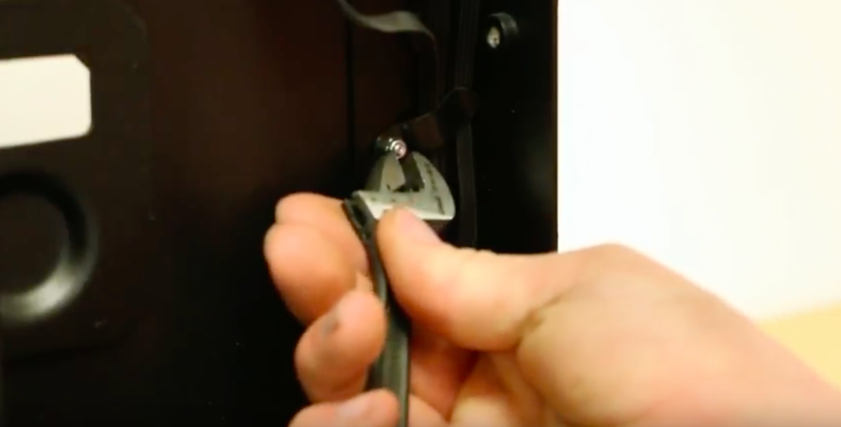
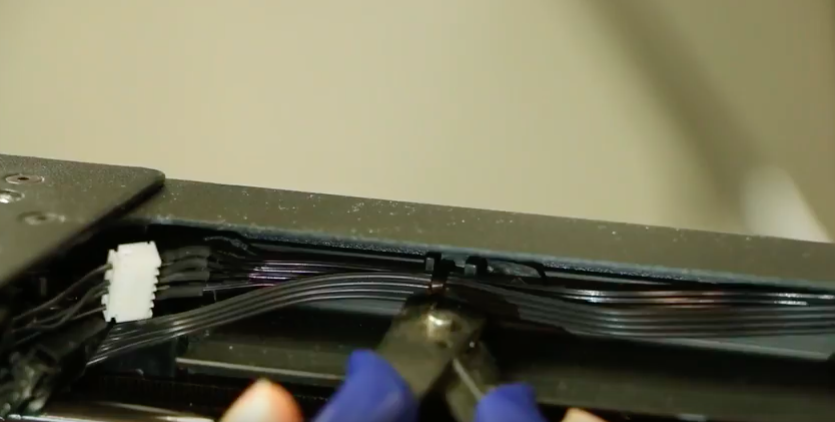
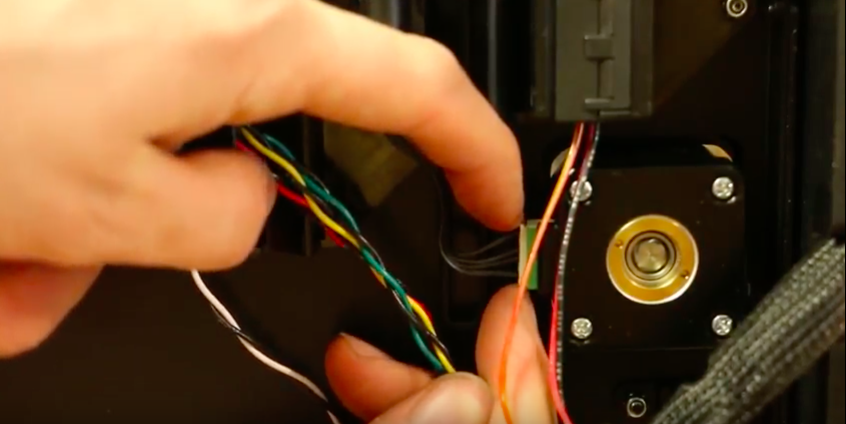
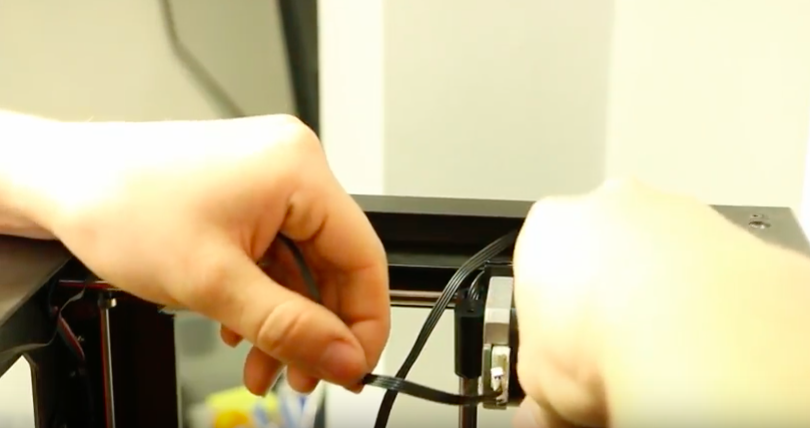
- Cut the zip tie carefully to ensure no damage is done to the n-stop cable.
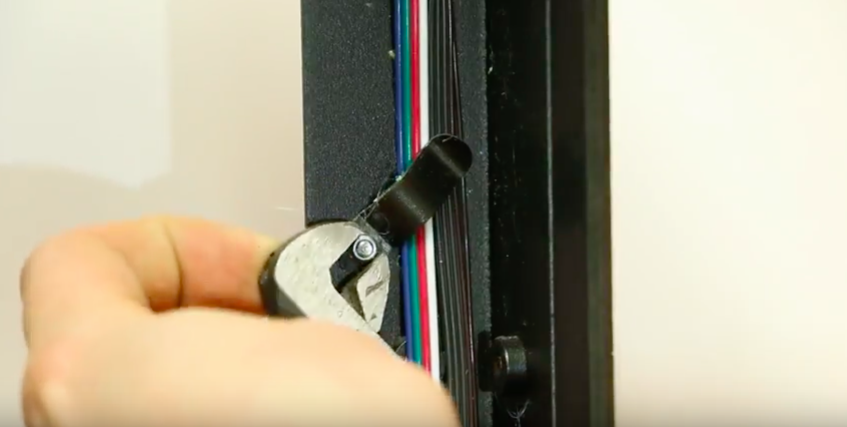
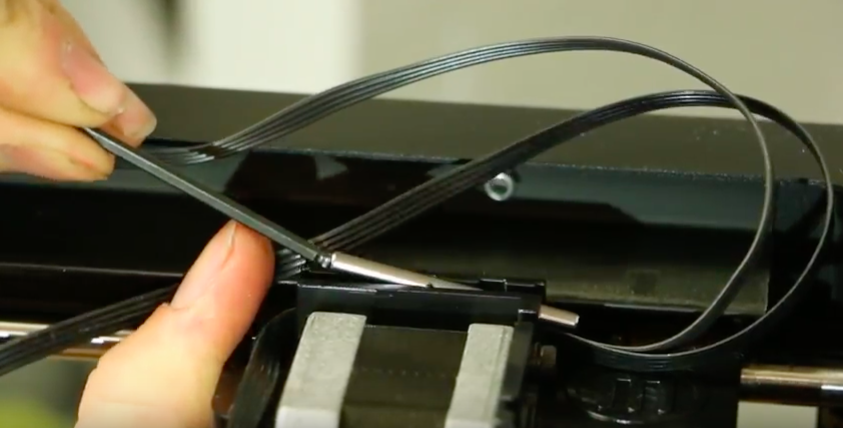
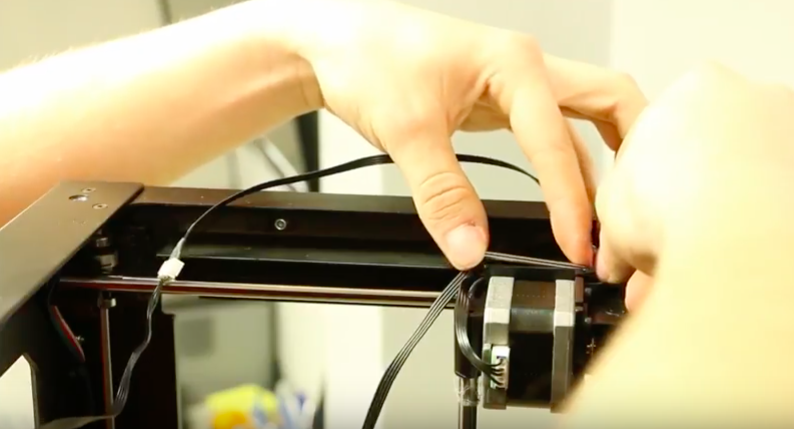
- Once the cables are released, remove the pin that’s locking the cables in, (also known as the x-axis primary.)
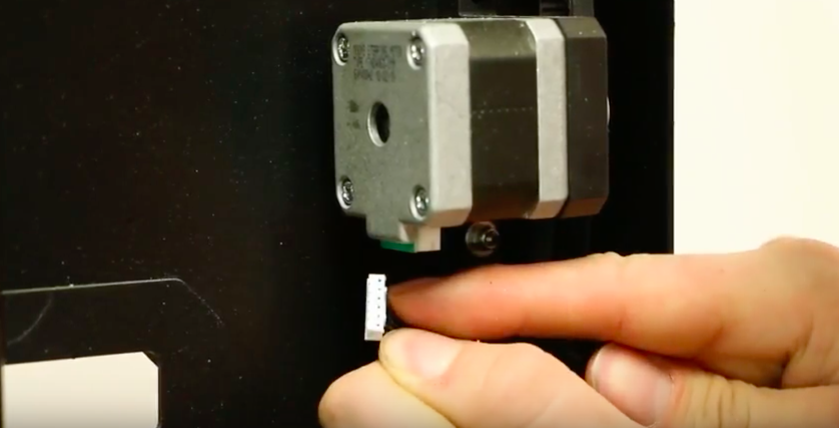
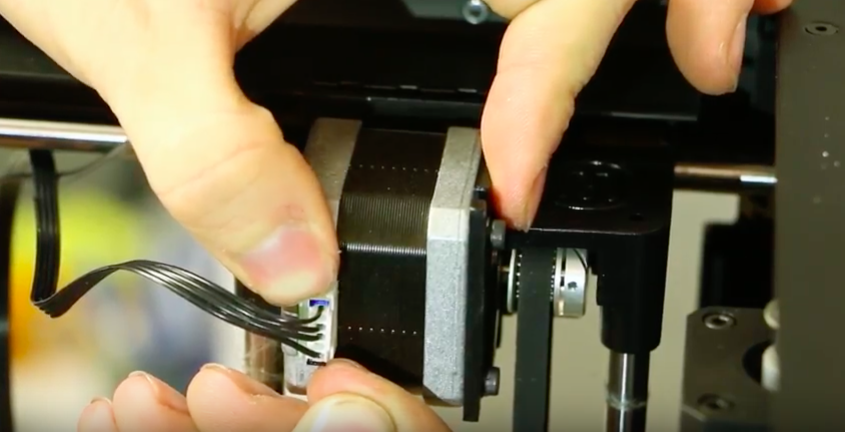
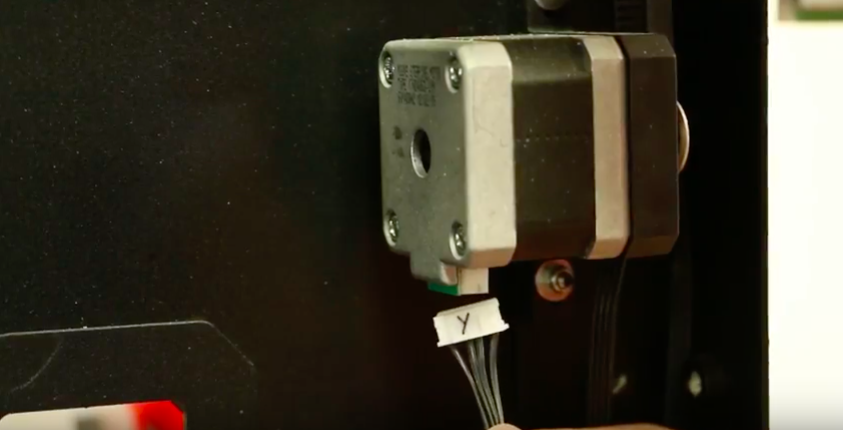
- Unplug the x-axis motor.
4
Pulling x and y-axis cables through printer
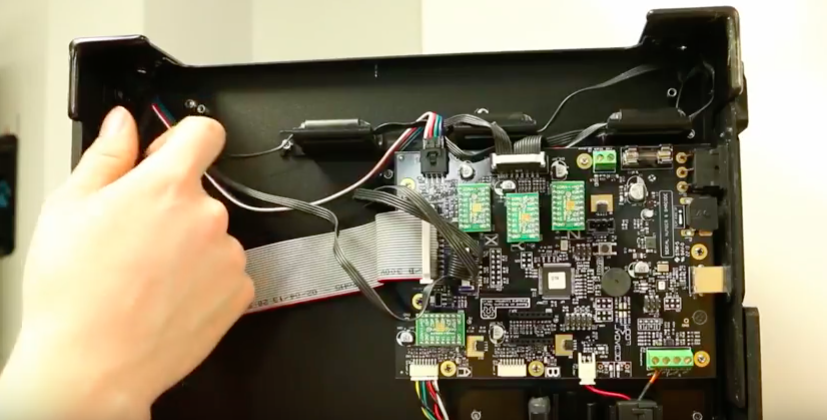
- Fish x-axis motor cable through the hole of the upper left corner of the printer.
- Be careful not to damage the n-stop cable while doing this.
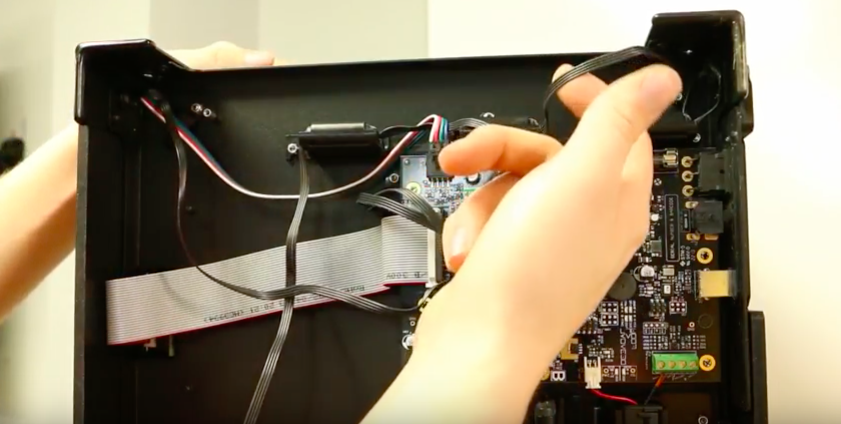
- Once the x-axis cable is out, move to the upper right side of the casing.
- Remove the y-axis motor cable. Be careful not to damage other cables.
5
Removing the motherboard
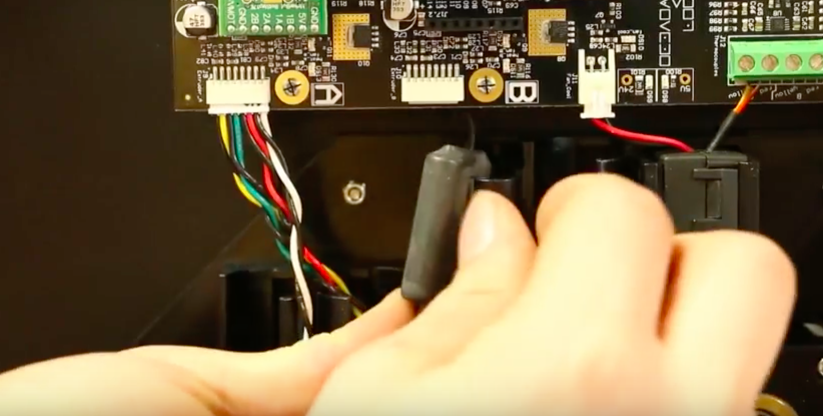
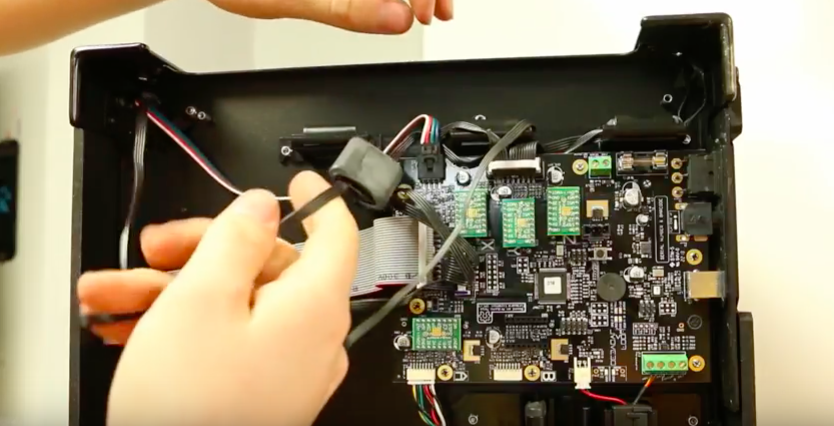
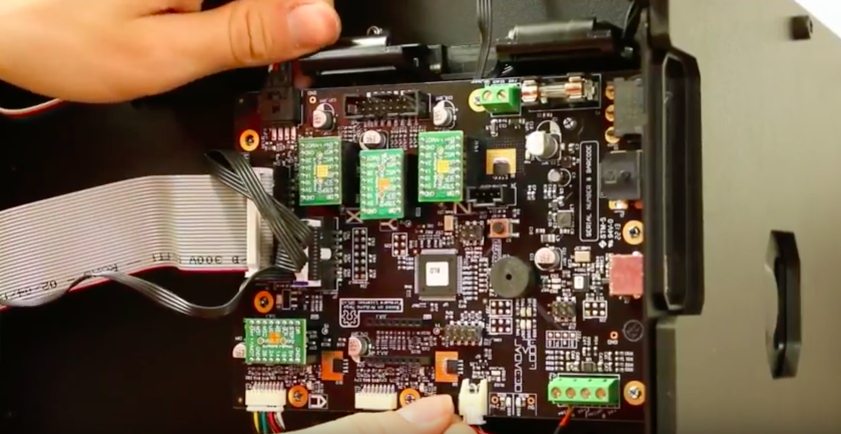
- Once both of the axis cables are pulled through, remove their corresponding ferrites.
- Unplug the z-axis motor under the motherboard, and remove its ferrite from its holder.
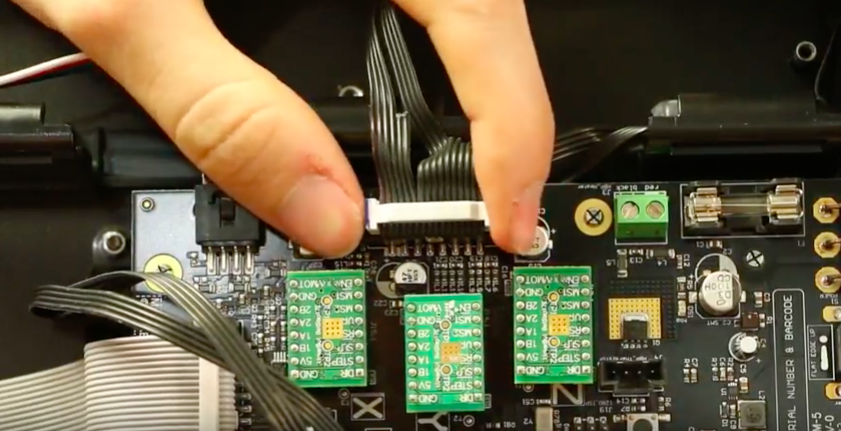
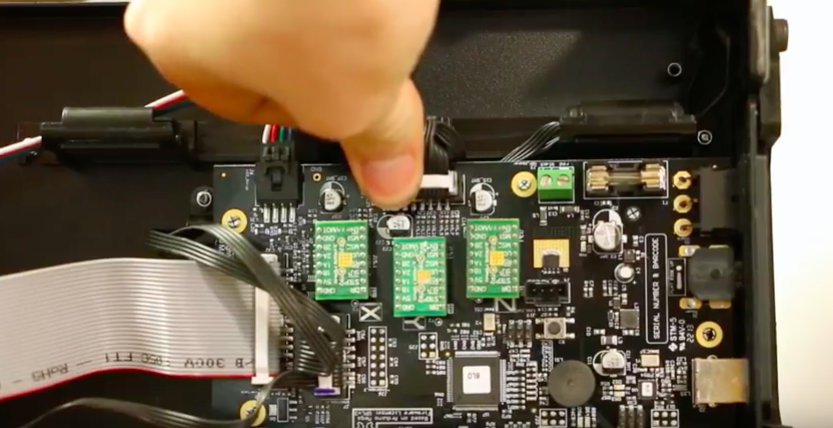
- Unplug the motor cable connector on the motherboard.
- Remove the motherboard off of five standoffs, (screws).
- Don’t remove motherboard from the far two standoffs.
- To remove board, gently lift up with both hands while working each standoff. Doing this little by little with ensure that the board doesn’t crack.
6
Plugging in the z-axis motor
- Once the motherboard is removed, lift the board slightly and remove the z-axis cable from behind.
- Start fishing the z-axis cable behind the motherboard.
- After you get the z-axis cable through, set the ferrite connector in its holder and push the motherboard back on its standoffs.
- Plug in the z-axis motor.
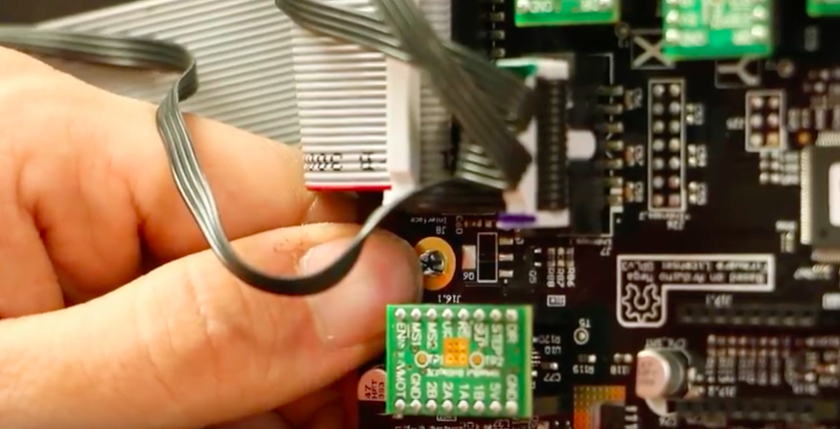
- Plug in the large grey connecter back onto the motherboard.
7
Working with the y-axis cable
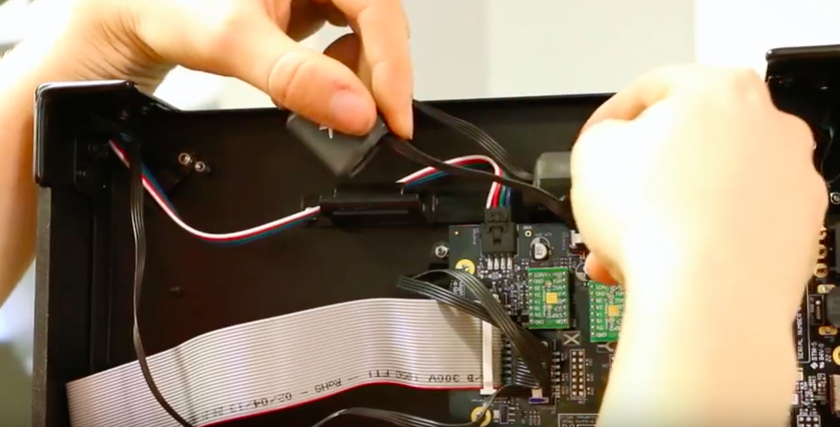
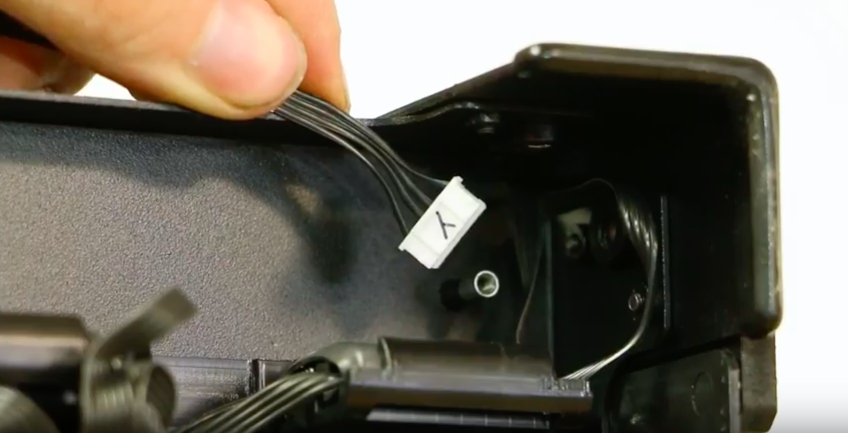
- Seat the remaining x and y ferrites into their holders and fish the x-axis cable through the upper left slot and attach extension on the other side.
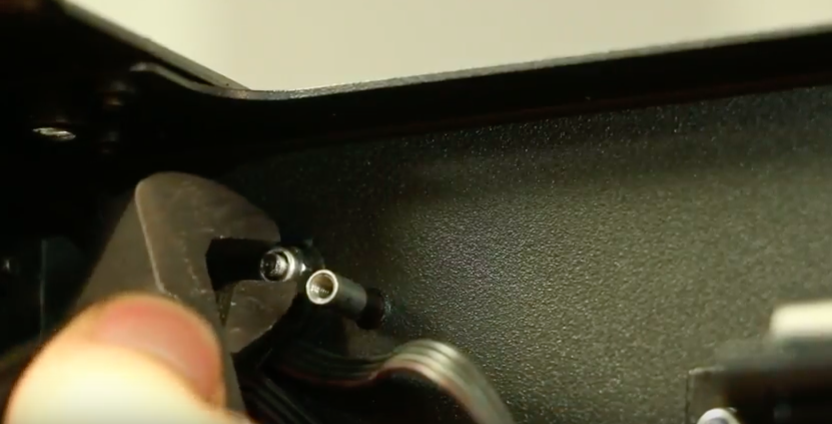
- Place the plastic tab over the wires and tighten the lock nut.
- Back on the upper right side, push the y-axis cable through its slot.
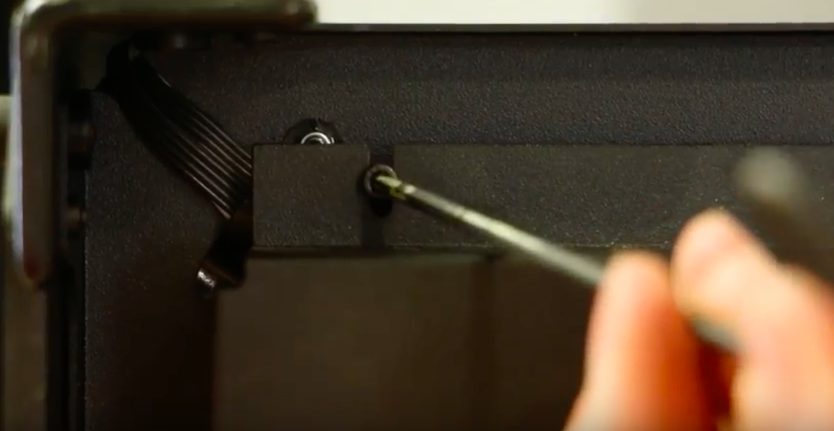
- Replace motherboard cover and re-seat the hex bolts.
8
Assembling cables
- With the printer still on its left side, plug in the x-axis motor cable and run both the n-stop and motor cable through the y-axis cable trough.
- Be sure to replace the pin with little force.
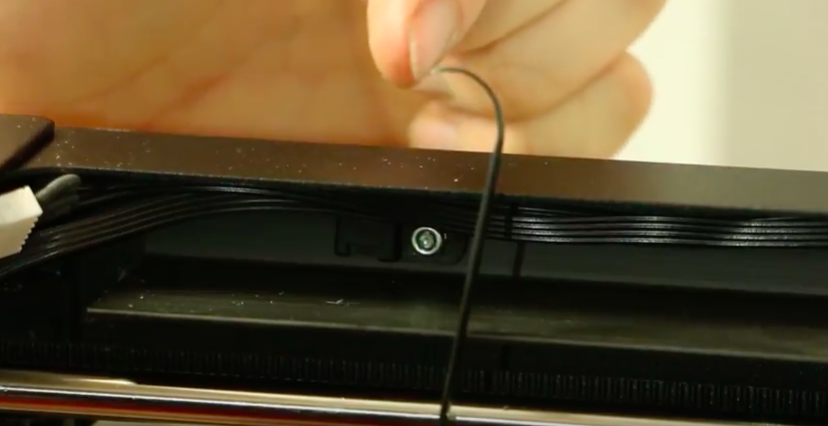
- Run excess cables along the inside top of the frame above the y-axis as they were prior and zip tie them.
- Consider shaping the end of the zip tie similar to a hook. It will be easier to fish through the zip tie hole this way.
- Once the zip tie is secure, cut off the excess. Be sure not to cut the cables.

