Let’s Install:
Hatchbox Alpha Stepper Driver
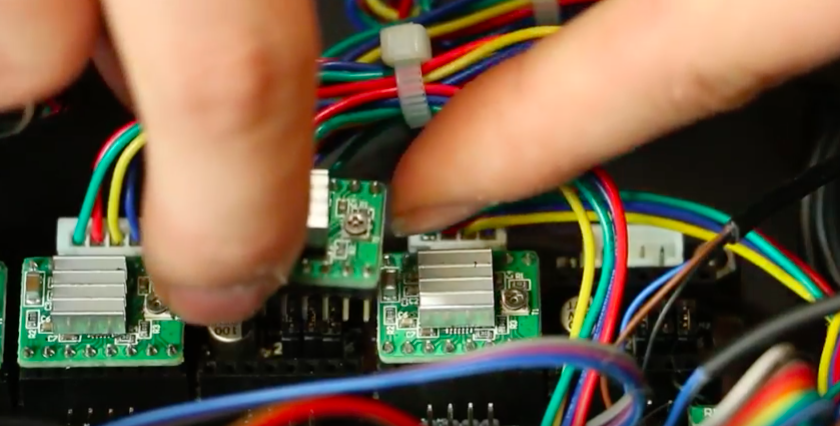
If you’re wondering how to replace your Hatchbox Alpha Stepper Driver, follow along with the video or directions below for instructions. Be careful not to bend the pins when replacing this part and also be sure to pay attention to the part’s orientation.
As always, turn off and unplug your machine before doing any repair work.
Due to the vertical height of this machine, be sure to use a stable ladder or step stool to reach the top of your machine.
- 5 mm. hex key
- 3 mm. hex key
- Hatchbox Alpha Stepper Driver
0
Removing the Old Stepper Driver
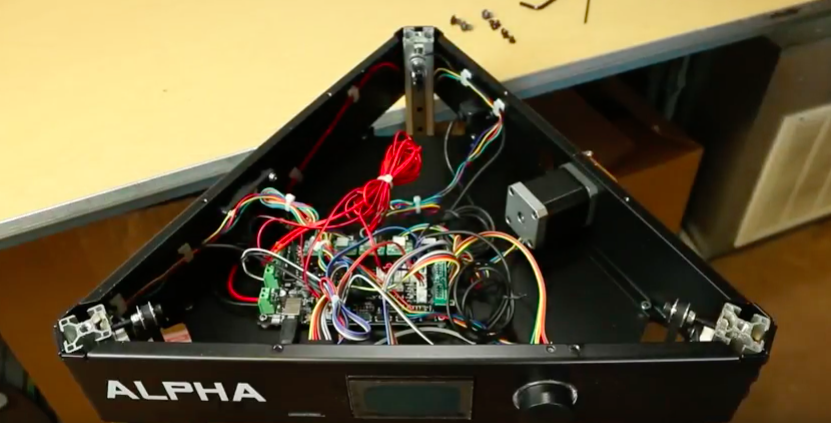
- Locate the bad stepper driver and move the cables out of the way.
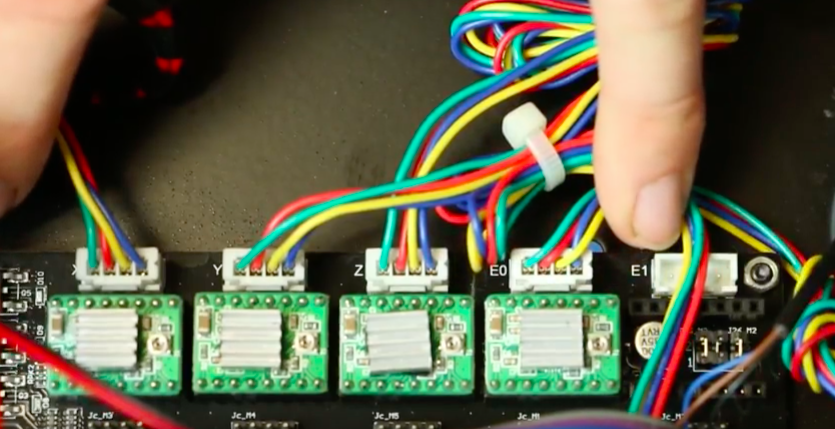
- You will see the x, y, z, and e0, or extruder, written on the board which corresponds with the adjacent stepper driver.
- Note the stepper driver’s orientation before preceding.
- Grip the stepper driver on either side and pull up lightly.
- Discard the old driver and insert the new one.
0
Finishing Up
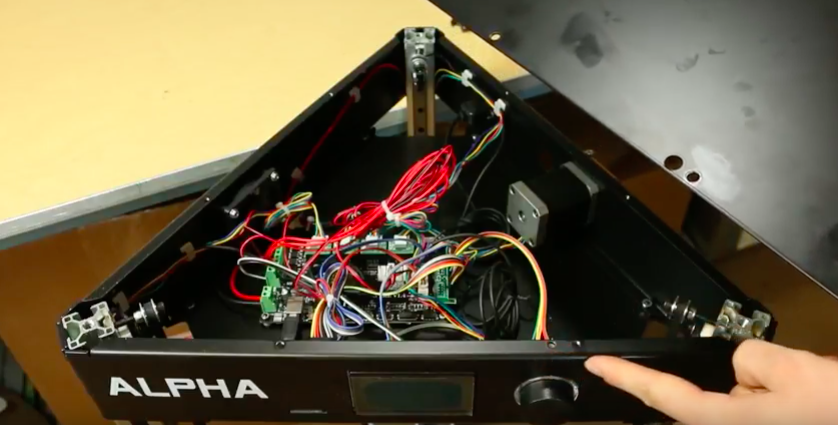
- Replace the wiring and ensure that none will get caught in the lid.
- Align the lid using the two holes by the control knob as a guide.
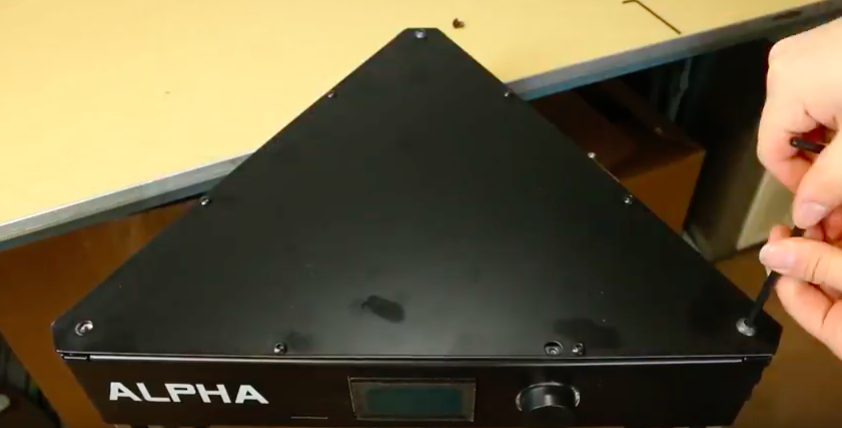
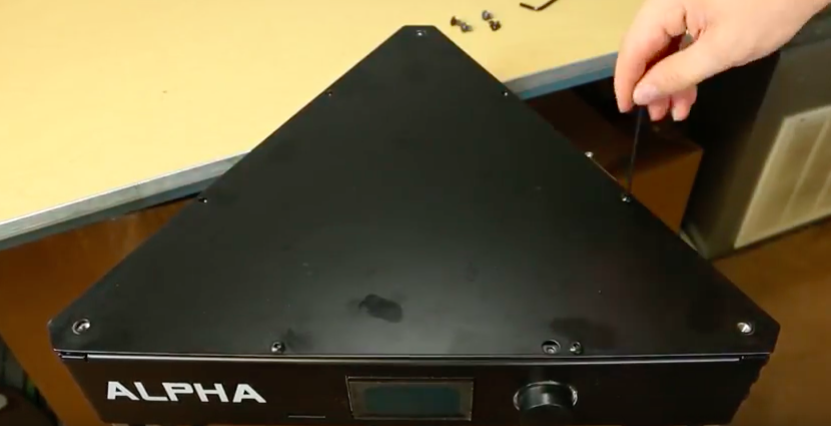
- Replace the 5mm screws first, followed by the 3 mm screws.

