Let’s Install:
Thermistor for Maker Select v2 / Wanaho Duplicator i3
If your Maker Select printer from Monoprice is having heating issues, it could be due to the thermistor. Follow along with the video or directions below for replacement instructions.
As always, turn off and unplug your machine before doing any repair work.
- 3/32 Hex Key
- Thermistor
- Pliers – Optional
- (Kit may also come with extension wires)
1
Removing the old thermistor
- Turn the machine around to access the extruder parts more easily.
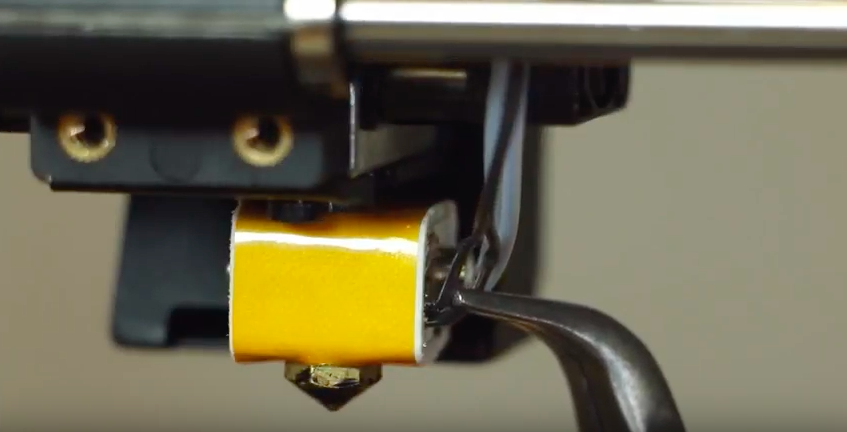
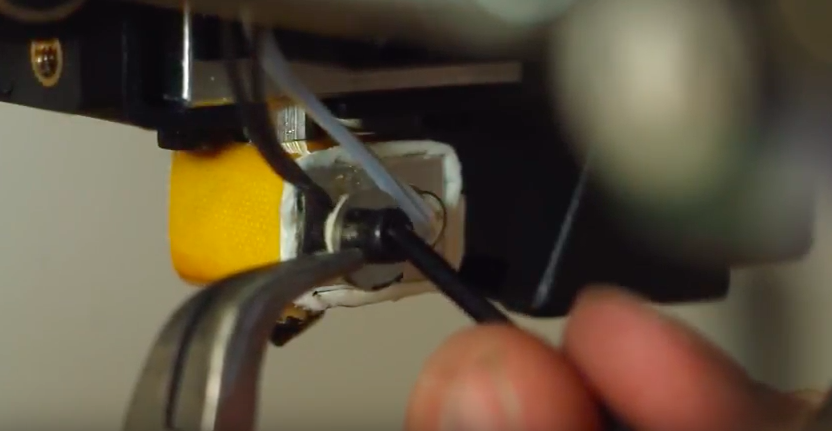
- Take the hex key and remove the socket screw and washer that holds the thermistor in place. Remove the old thermistor.
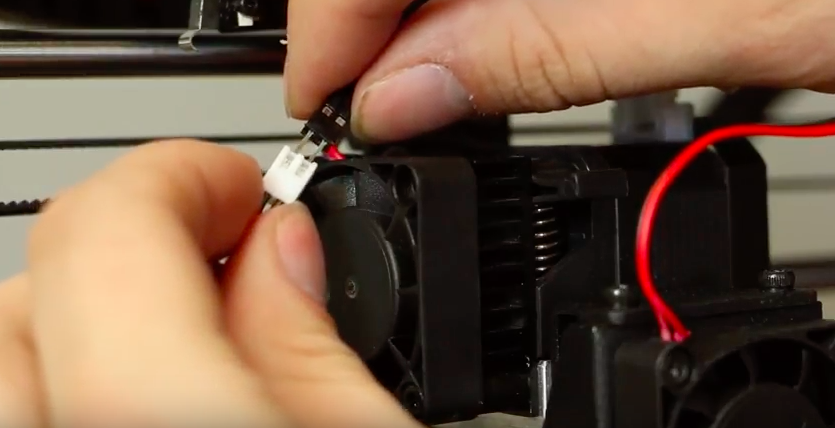
- Locate where the old thermistor connects to the existing extension wire. Note the connectors orientation to each other.
- Unplug the old thermistor from the extension wire.
2
Preparing the new thermistor
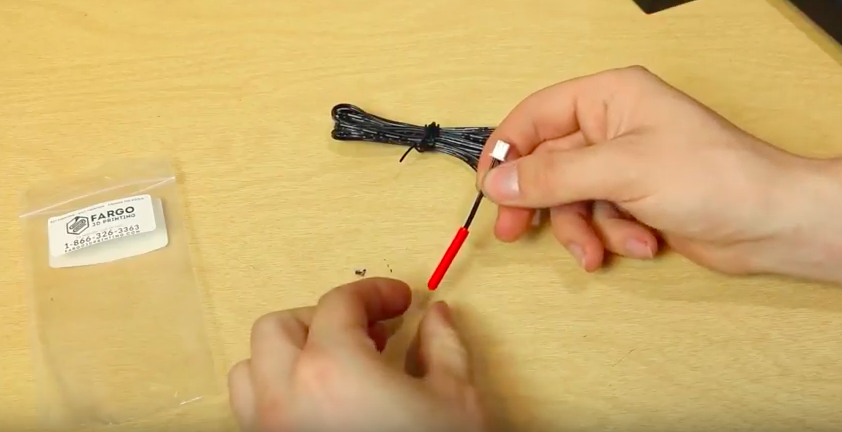
- Remove your new Fargo 3D Printing Thermistor from the baggy and separate it from any other contents.
- There will be a shipping cover over the thermistor, remove that at this time.
- Grab the female end of the thermistor, recalling the old thermistor’s orientation, and plugging it in accordingly.
3
Installing the new thermistor
- Before reinstalling, clean the area around the thermistor hole on the heater block.
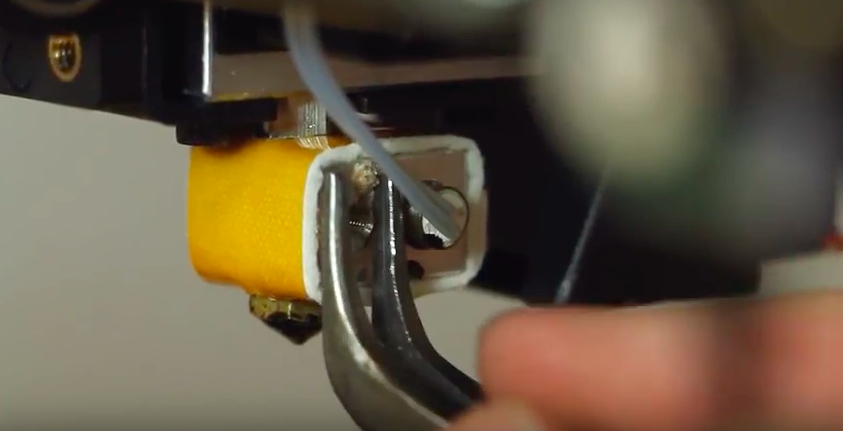
- Place the new thermistor wire in the non-threaded hole. Take the washer and set screw and screw down snuggly. This will lock the thermistor in place.
- Be sure that the heater cartridge wires do not get caught in the washer.
- If the thermistor still doesn’t work, the extension cables may also need to be replaced.


