Let’s Install:
LulzBot TAZ and LulzBot TAZ Mini Felt Strip
If it’s time to replace your LulzBot TAZ or LulzBot TAZ Mini Felt Strip, follow along with the videos or directions below.
As always, turn off and unplug your machine before doing any repair work.
- LulzBot Taz Felt Strip
- Pliers
- Small flat screwdriver
1
Installing the LulzBot TAZ Felt Strip
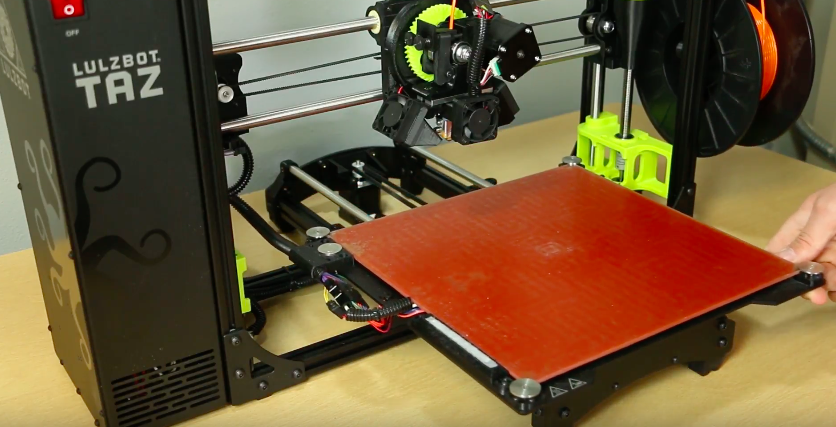
- First, ensure that the build plate is pulled all the way forward.
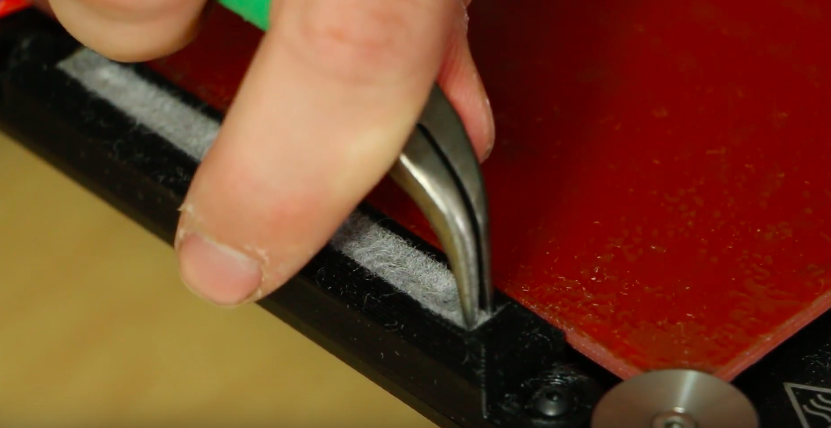
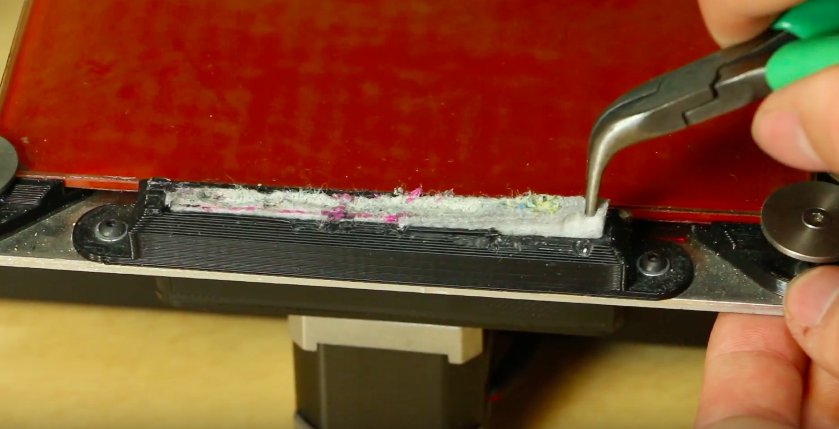
- Take the pliers and remove the old felt strip from the holder.
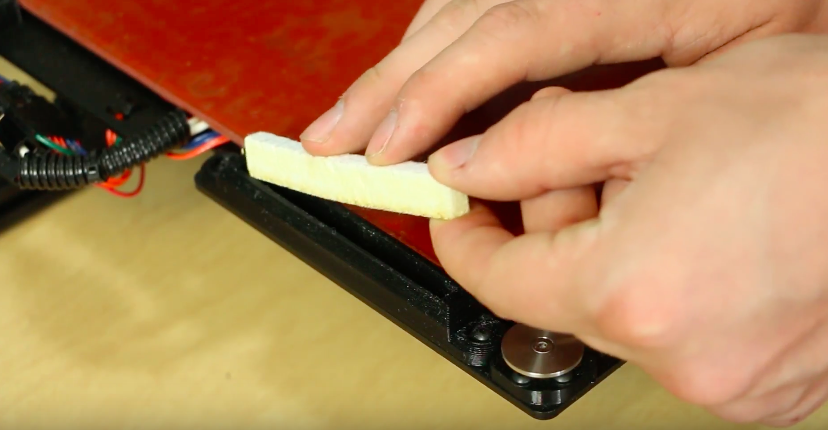
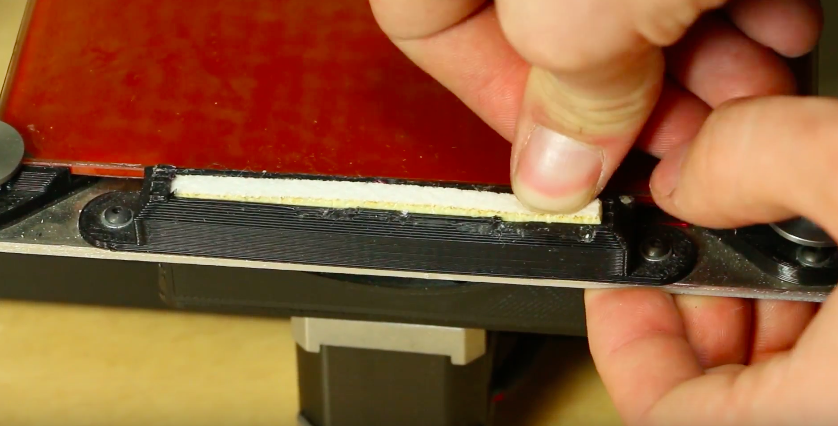
- Then we’ll insert the new strip. Putting one end in first, followed by the other.
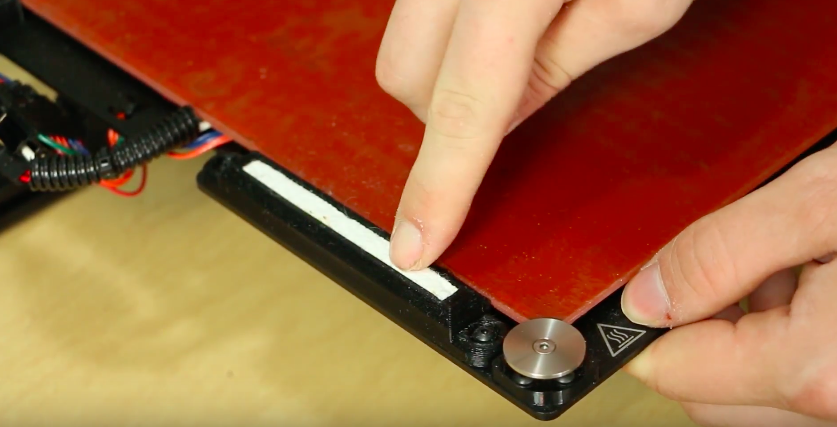
- Push down firmly to be sure that it seats all the way.
2
Installing the LulzBot TAZ Mini Felt Strip
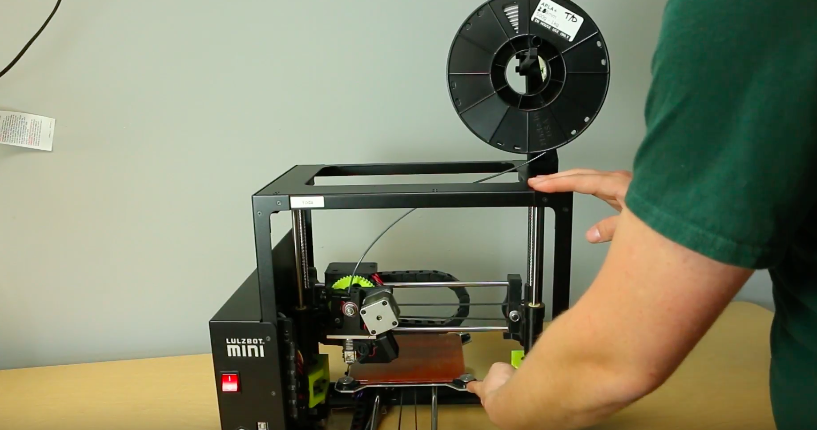
- First, push the build plate to the very back of the machine. Followed by turning the machine around, (this allows easier access to the felt strip.)
- Take your pliers and remove the old felt strip by gripping the strip and pulling it out of the holder.
- Grab your new strip and insert one end in first, followed by the other.
- Push down to ensure that it seats all the way.

